
What Makes an Off-Road Motorcycle Easy to Clean and Maintain?
SOURCE: KOVE
If you’ve ever hosed down a bike after a muddy weekend, you know the drill. You spend an hour cleaning dirt out of every nook, only to find another clump of mud hiding behind a guard the next morning.
It takes time to clean and a bike that is difficult to work on gets examined less often. That’s how tiny problems become expensive repairs. A good off-road motorcycle maintenance program begins with a bike you can actually get to and wash without a battle.
We discuss why cleaning is important, what design aspects matter, what to do after a dusty or muddy ride, and a basic motorcycle maintenance checklist you can follow.

Why Regular Cleaning Matters for Off-Road Motorcycles
Dirt is not just a cosmetic problem. Dried muck clings to metal, retains moisture, and the grit works its way into the chain, links and bearings. Cracks, loose bolts and tiny leaks are also covered up by a thick coating of dirt so you might ride with a problem for weeks before you notice.
Riders who clean their bikes soon after a ride are more likely to spot potential problems early. Regular dirt bike cleaning does three things:
- Slows wear: Grit on the chain and sprockets acts like sandpaper and parts wear out faster.
- Reveals damage: A clean frame and swingarm makes it easy to see cracks, leaks and loose pieces.
- Keeps things working: A clean air filter helps maintain engine performance, while properly functioning controls support safe operation.
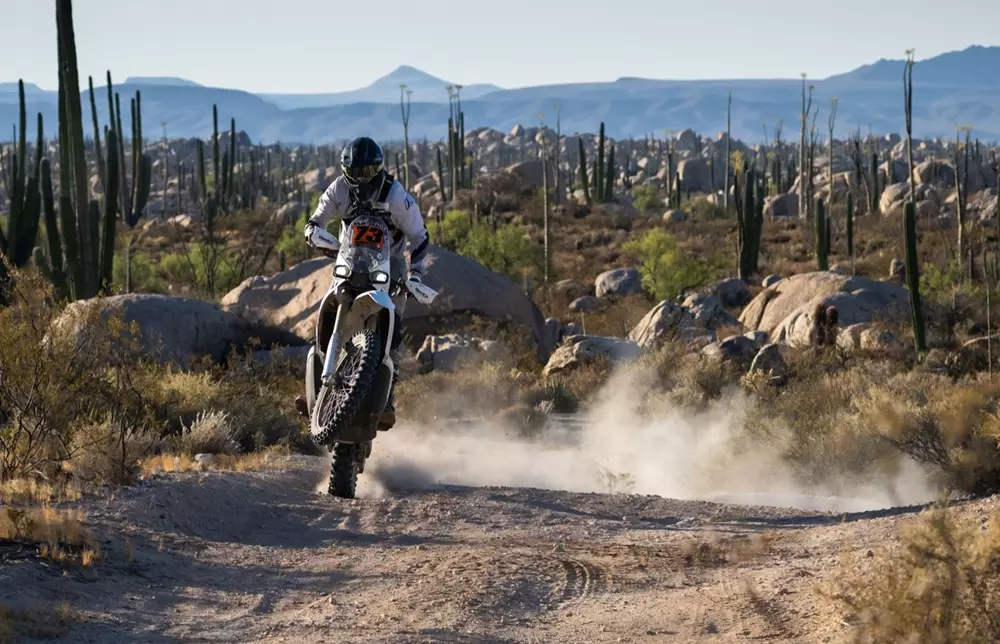
Which Parts Are Hardest to Clean
Some bikes are just more livable than others. Enduro-style machines are designed to be reliable over long distances, but that doesn’t mean muck doesn’t find its way into odd places. How much effort cleaning takes is up to layout. If accessing the air filter requires removing the seat and panels, riders may be less likely to check it after a dusty ride.
The table below highlights design features that affect cleaning and maintenance, along with what to check when inspecting a bike.
| Feature | Why It Matters | What Riders Should Check |
| Air filter access | Makes post-ride cleaning easier | How easily the filter can be inspected and removed |
| Chain and sprockets | Collect dirt and wear during off-road use | Access for cleaning, lubrication and wear checks |
| Bodywork and guards | Affect access to dirt-prone areas | Whether mud can be removed without extensive disassembly |
| Routine service access | Influences the time needed for basic checks | Whether common maintenance tasks are straightforward |
What to Clean After a Muddy or Dusty Ride
You don’t require an extensive routine. A quick, regular one after every ride is better than a large clean once a month.
1. Remove Mud and Dirt Without Damaging Parts
First remove the thick mud, then rinse off with a mild flow of water. High pressure can push water into the wheel bearings, swingarm pivot and electrical connectors. Therefore, keep the jet away from these areas. Use a gentle brush on the tight locations and allow the bike to dry before continuing.
2. Clean the Chain After Riding
Clean the chain with a suitable chain cleaner and brush, then apply the recommended lubricant once it is dry. Check for stiff links and inspect the chain slack according to the motorcycle’s manual. If the chain has damaged links or persistent stiffness, further inspection or replacement may be necessary.
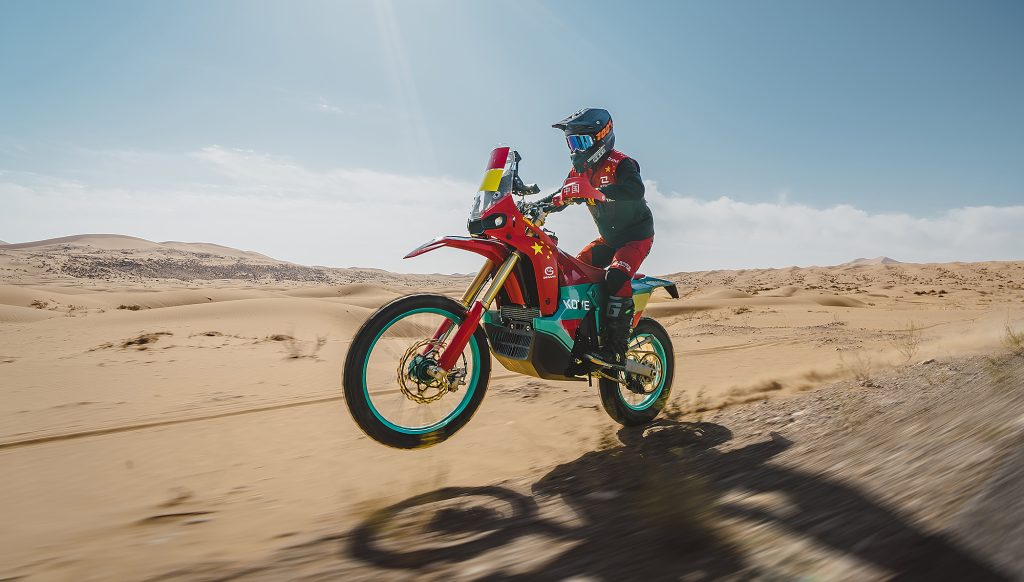
3. Check the Brakes and Tyres
When the bike is clean, check the brake pads, discs and tyres. Mud and abrasive grit can accelerate brake pad wear, so inspect the pads and discs after muddy rides.
- Brakes: Check pad thickness and make sure the lever and pedal feel normal.
- Tyres: Look for cuts, missing knobs and bent rims, and confirm the pressure suits the terrain.
4. Look for Damage Before Storing the Bike
Spend a minute checking for loose bolts, oil or coolant traces, and cracked plastics or guards. Doing it while the bike is clean makes problems stand out. Finding a loose axle nut in the garage is better than finding it on the trail.
Off-Road Motorcycle Maintenance Checklist
A checklist helps keep routine maintenance consistent. Some checks should be completed before each ride, others depend on riding conditions, and some follow the schedule in your motorcycle’s manual. Use the table below as a general guide.
| When to Check | Item | What to Look For |
| Before each ride | Tyres and brakes | Visible damage, suitable tyre pressure and normal brake function |
| After dusty rides | Air filter | Dirt buildup and the need for cleaning or replacement |
| After muddy rides | Chain and sprockets | Dirt, wear, lubrication and correct adjustment |
| After each ride | Leaks and visible damage | Unusual fluid traces, loose parts or damaged components |
| At scheduled intervals | Fluids and service items | Follow the motorcycle’s maintenance manual |
The manual is the final word on service intervals, since they differ between models. If you are unsure about a job, a trained technician is a safer choice than guessing.
Match Maintenance Demands to Your Riding
How much upkeep you need depends on where and how often you ride. A weekend trail rider and a regular competitor will not follow the same schedule, but both do better with a bike that is easy to reach and clean. When you are comparing bikes, look at how simple the basic checks are, as well as the spec sheet.
If you are shopping for an off-road bike, you can browse the KOVE model range to see which models suit your riding style.